
Last updated September 21, 2026
Full 25-point door and opener safety check with every visit - springs, cables, rollers, tracks, and your LiftMaster or Chamberlain opener included
You get a price before we start. It does not change when the truck arrives.
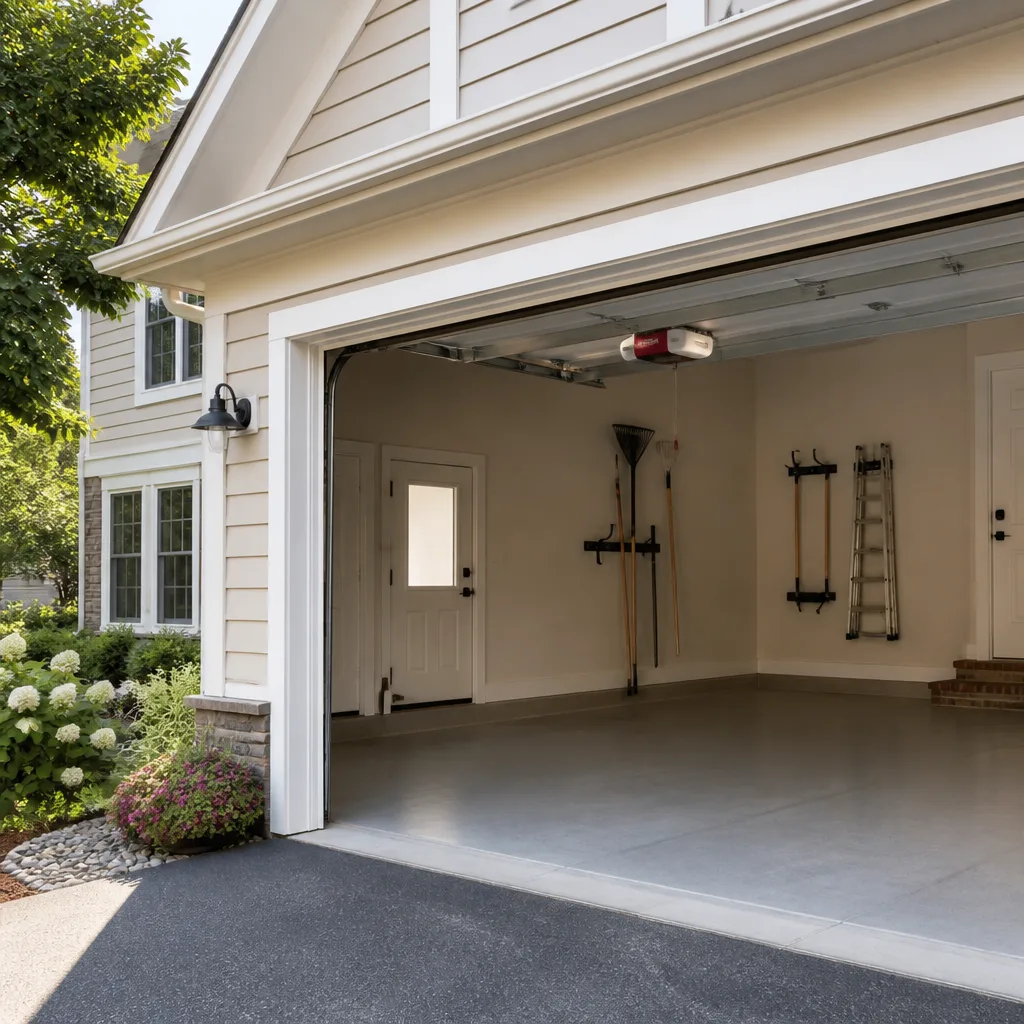
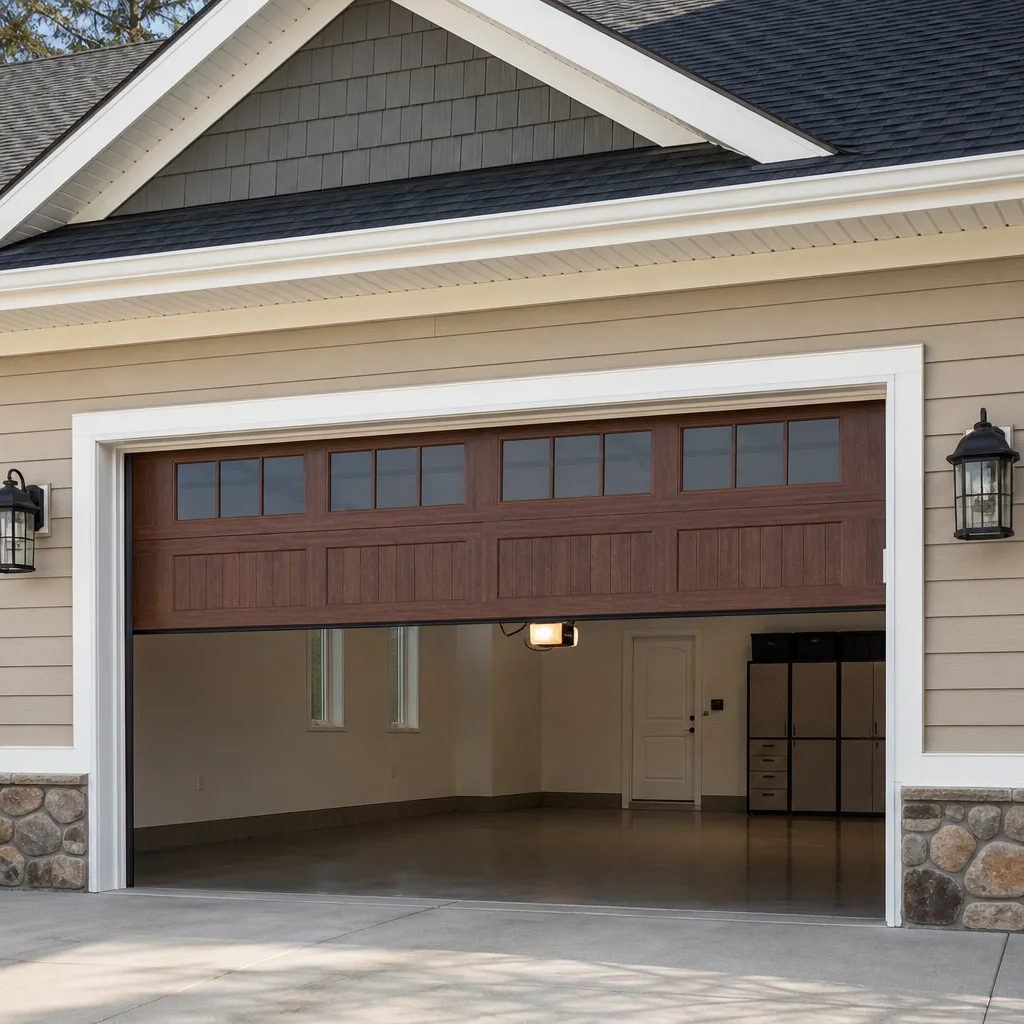
 Before
 After
After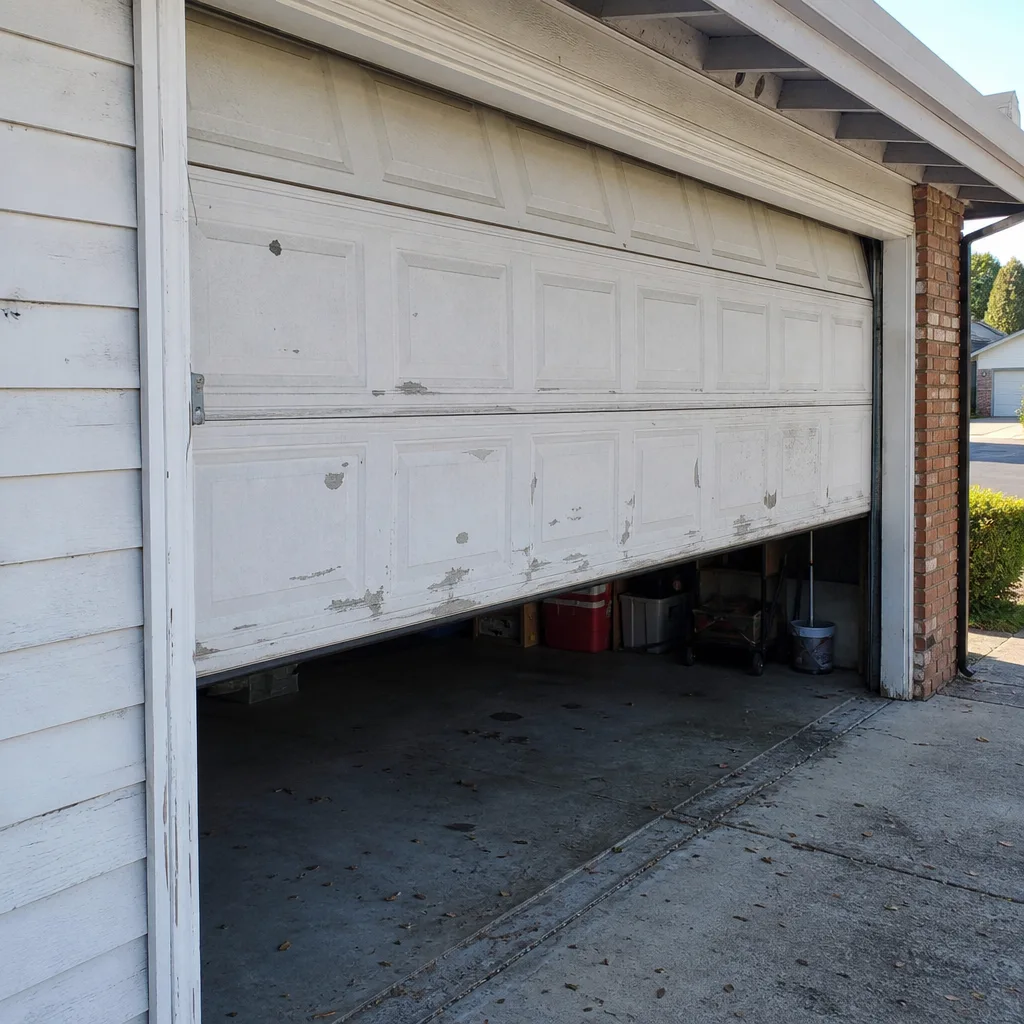 Before
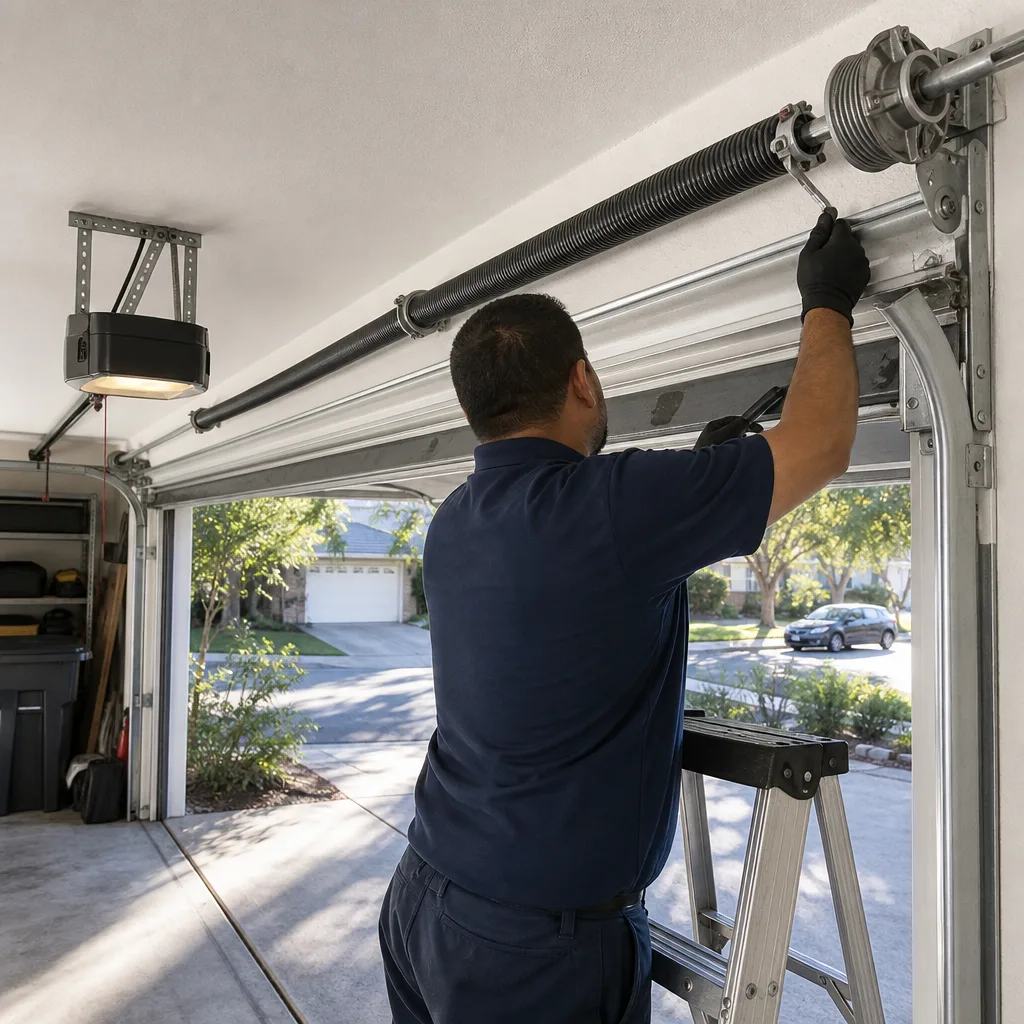 After
After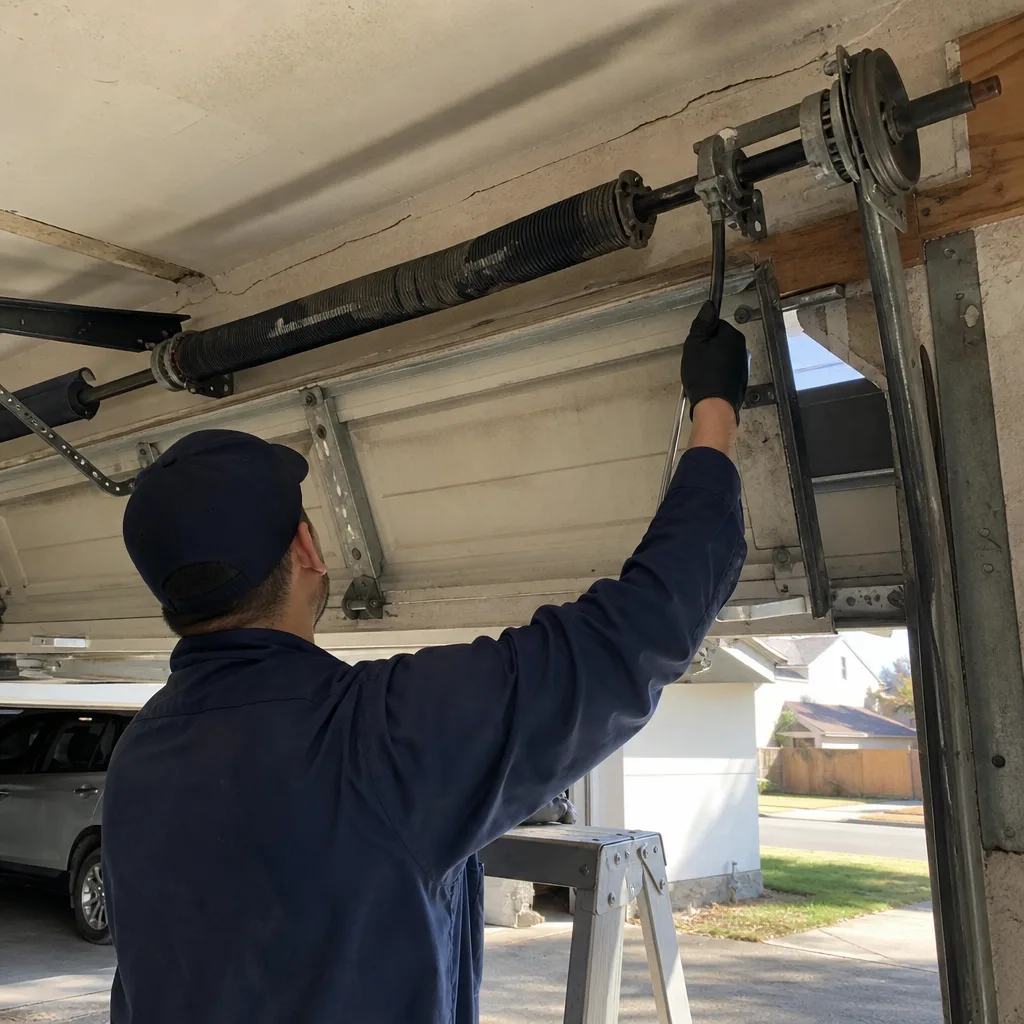 Before
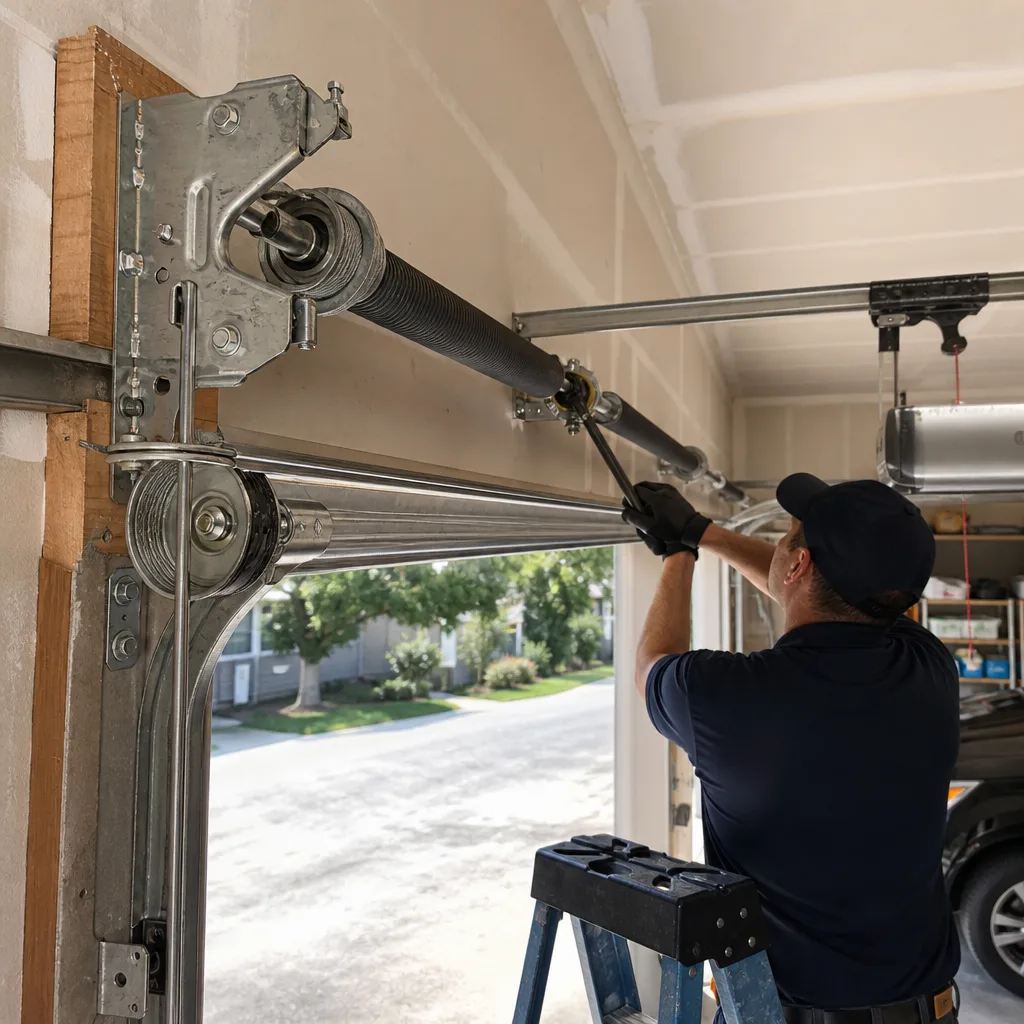 After
AfterGarage Door Installation Maintenance Checklist for Pleasanton Homeowners
Spray lubricant applied to a torsion spring that already has a stress fracture doesn’t extend its life - it masks the acoustic warning sign, a sharp ping under load, that would have told you replacement was six weeks away, not six months. In Pleasanton, we’ve seen this exact scenario play out in the Kottinger Ranch and Vintage Hills neighborhoods, where homeowners followed generic “lubricate everything” advice and missed the crack propagating through their spring until it failed completely. For more on identifying these issues early, see our Garage Door Warning Signs: A Pleasanton Homeowner’s Reference Guide. This guide converts vague maintenance tasks into pass/fail inspections with observable criteria: what to measure, what the measurement means, and what to document so any contractor can quote from evidence instead of age.
Quick Answer
A proper Garage Door Installation maintenance checklist for Pleasanton homeowners includes monthly visual inspections of springs, cables, and hardware; quarterly lubrication of hinges, rollers, and the torsion spring with silicone-based lubricant; biannual force-setting and reversal testing per DASMA standards; and annual professional inspection of door balance and track alignment. Pleasanton’s summer heat expansion and winter valley fog condensation create specific seasonal stress points that accelerate hardware fatigue, particularly on south-facing doors in neighborhoods like Ruby Hill and Birdland. Document each inspection with dated photographs so future repair quotes reference actual condition, not just installation year.
Table of Contents
- Post-Installation 30-Day Checklist: What Settles, What Needs Re-Tension
- Pleasanton Seasonal Triggers: Heat Expansion and Winter Condensation
- The Three Lubrication Points That Matter (And Four That Cause Problems)
- Force-Setting Test Procedure: The DASMA Reversal Test Most Homeowners Skip
- How to Photograph and Document Each Inspection
- Monthly, Quarterly, and Annual Maintenance Schedule
- Common Mistakes to Avoid
- When to Call a Professional
- Frequently Asked Questions
 Before
 After
AfterPost-Installation 30-Day Checklist: What Settles, What Needs Re-Tension
The first 30 days after a new garage door installation in Pleasanton are when manufacturing tolerances, installation adjustments, and structural settling reveal themselves. Most homeowners don’t realize that a properly installed door on day one can show measurable drift by day thirty. This isn’t installation error - it’s the expected behavior of a dynamic system under load.
Here’s what to inspect, what the finding means, and what action to take:
- Check door balance with the opener disconnected. Pull the red emergency release cord and lift the door manually to waist height. A balanced door stays put. If it drifts up or down more than six inches, the torsion spring torque needs adjustment. In Pleasanton, we’ve found that new Amarr and Wayne Dalton doors installed during our dry late-summer months often need re-tensioning by week three because the spring wire settles slightly faster in low-humidity conditions.
- Listen for new noises during the first ten cycles. A rhythmic click at the same point in travel usually means a roller is walking out of its track bracket. A grinding scrape suggests the track spacing narrowed as the header settled. Document the exact cycle count when the noise appeared - this distinguishes true defects from normal break-in sounds.
- Inspect all fasteners with a socket set. The vibration of initial operation loosens lag screws in the track brackets and jamb brackets. Torque to manufacturer specification; for most residential installations, that’s 25-30 ft-lbs on 5/16-inch lag screws. Don’t overtighten - stripped threads in a wood jamb are harder to fix than loose hardware.
- Verify the photo-eye alignment hasn’t drifted. The sun angle in Pleasanton changes measurably between summer and fall installation dates. A photo-eye that passed bench testing in September may catch direct western exposure by October, causing phantom obstruction errors. The LED indicators on both units should glow steady; any flicker means realignment.
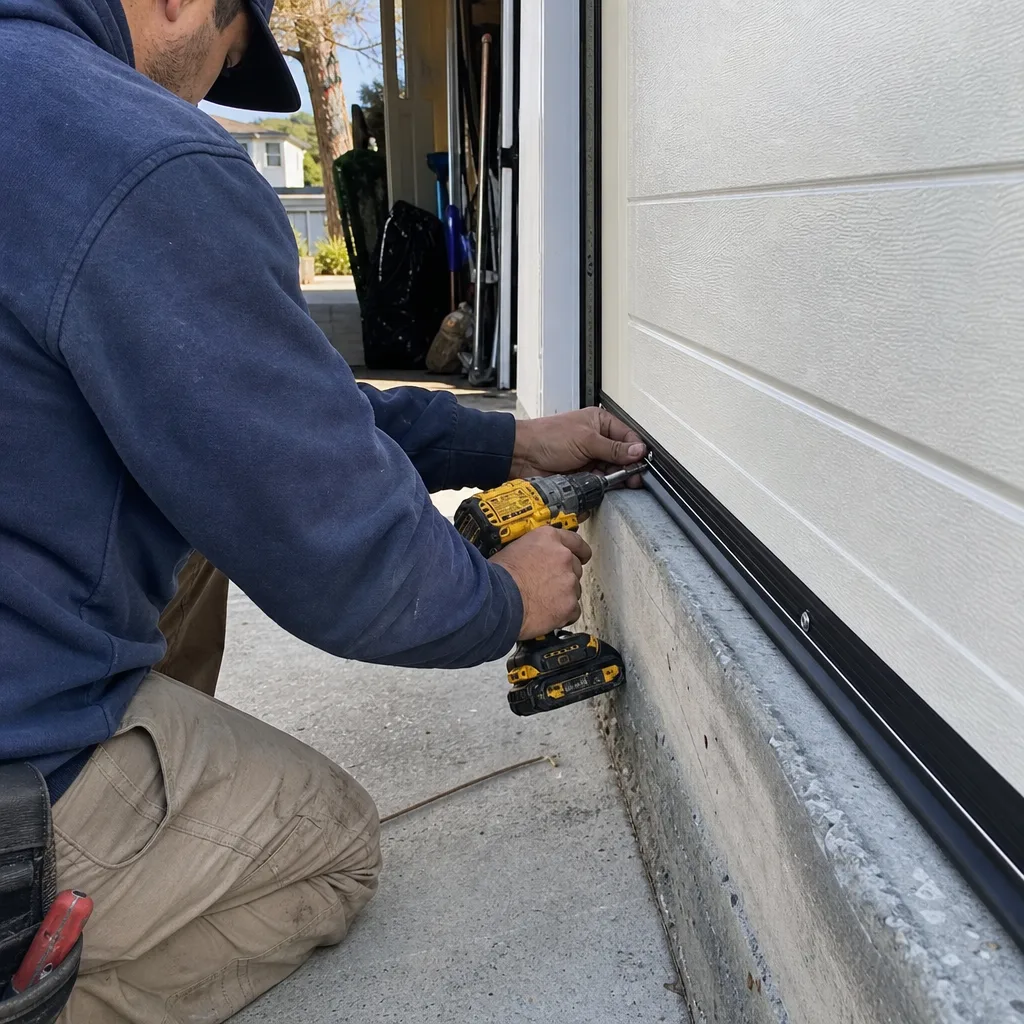
- Check the weather seal contact pattern across the full width. Close the door on a piece of paper at multiple points. You should feel equal drag everywhere. Uneven contact means the door is racking - one side lower than the other - which strains the cables and opener trolley carriage unevenly.
What was wrong from day one and went unnoticed: a reversed torsion spring wind. Right-hand wound springs go on the left side of the door, left-hand on the right, when viewed from inside the garage. A reversed wind doesn’t always fail immediately - it overtorques one cable drum and causes uneven lift that shows up as racking in item five above. If your 30-day inspection reveals persistent racking despite level tracks, this is the likely cause and it requires professional correction.
We document the post-installation condition of every garage door installation in Pleasanton with a baseline photo set, and we encourage homeowners to take their own dated photos at day seven and day thirty for comparison. Clause 4 of The Haven Standard is why our technicians photograph the installed system before leaving - the customer sees the starting condition before anyone needs to quote a future repair.
Pleasanton Seasonal Triggers: Heat Expansion and Winter Condensation
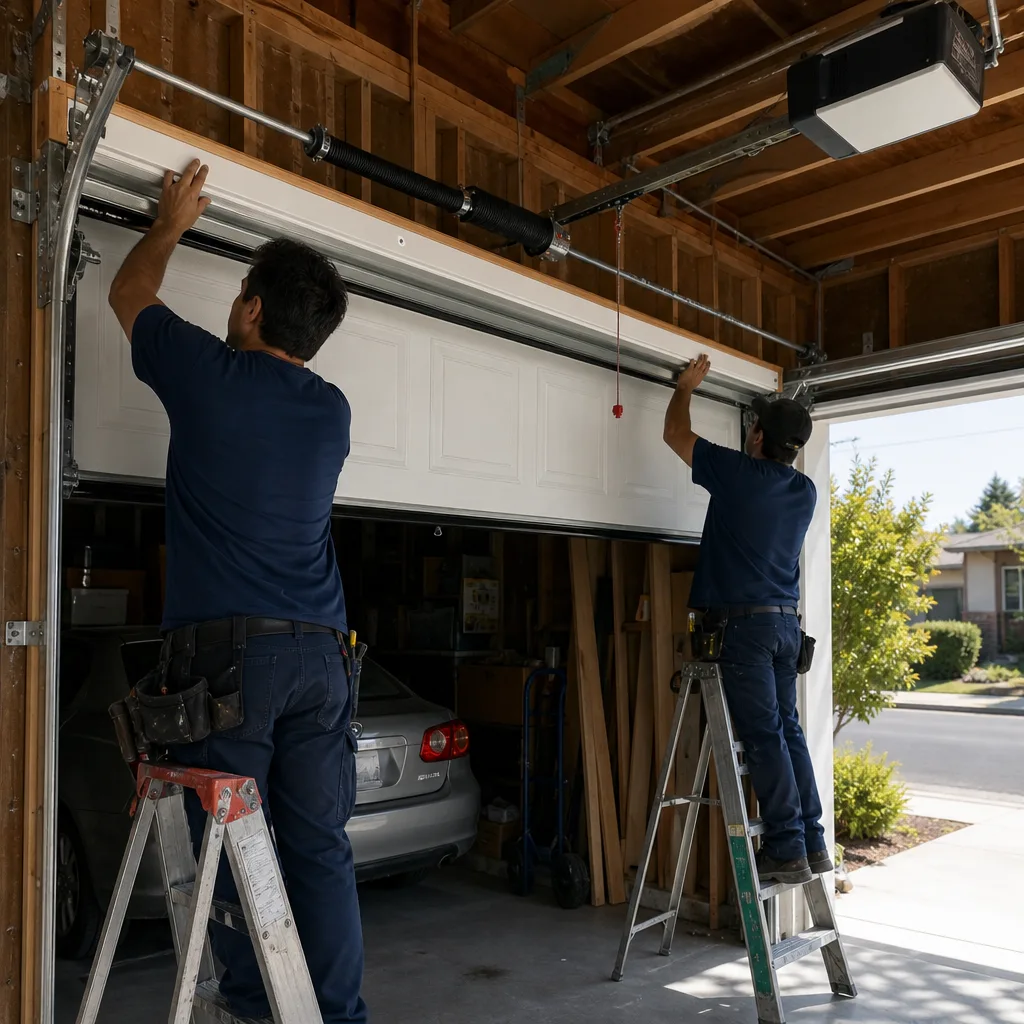
Pleasanton’s climate sits at the intersection of two failure modes that don’t coexist in most Bay Area microclimates. Summer afternoons in the valley regularly reach 95°F, with south-facing garage doors absorbing radiant heat that pushes steel track temperatures past 120°F. Winter mornings bring tule fog and valley condensation that wets metal surfaces for hours before the sun burns through. This thermal cycling creates specific maintenance priorities.
Summer expansion failures:
- Steel tracks expand approximately 0.006 inches per foot per 100°F temperature change. A 16-foot-wide door with tracks running from a cool garage interior to a sun-baked exterior header sees differential expansion that loosens track bracket fasteners. Check bracket torque in late August, not spring.
- Nylon rollers soften in sustained heat above 140°F. A roller that spun freely in March may bind by July. The observable sign: the opener motor sounds labored during the first six inches of travel, when the door is heaviest on the horizontal track.
- Photo-eye lenses can craze - develop microfractures - from UV exposure. In Pleasanton’s Ruby Hill neighborhood, where elevation increases direct sun exposure, we replace photo-eyes at roughly 60% of their rated lifespan elsewhere in the East Bay.
Winter condensation failures:
- Moisture condenses on the torsion spring and drips onto the cable drums. Rust on the drum grooves causes cable fraying that accelerates through the winter. The pass/fail criterion: run a cotton swab around the drum groove. Orange-brown residue means active corrosion.
- Bottom seal rubber stiffens below 40°F. A seal that flexed in October cracks by January. Check by pressing a fingernail into the seal material - it should indent and rebound. If it feels like hard plastic, it’s lost its compression set and won’t seal against rodents or water.
- Logic boards in older Craftsman and Raynor openers are vulnerable to condensation shorting. The symptom is erratic behavior: door opens partway, reverses, or responds to phantom remote signals. The board isn’t failed - it’s wet. A dehumidifier in the garage often resolves this without replacement.
The highest-risk period in Pleasanton is late September through mid-October, when the first significant rain follows months of dry heat. Thermal shock - rapid cooling of sun-heated metal by rain - causes the most track misalignment callbacks we see. Inspect track fastener torque before this transition, not after.
The Three Lubrication Points That Matter (And Four That Cause Problems)
Generic maintenance advice says “lubricate moving parts.” This is imprecise enough to be actively harmful. We’ve documented the consequences at hundreds of Pleasanton service calls.
Lubricate these three points with silicone-based spray lubricant (white lithium grease for the spring):
- Hinges: The pivot points where hinge leaves rotate. Apply sparingly - two seconds of spray per hinge. Excess lubricant attracts dust that forms grinding paste. The pass/fail sound test: open and close the door manually. Squeaks mean dry hinges; grinding means contaminated hinges that need cleaning before relubrication.
- Rollers: Only the roller wheel bearings, not the roller stem where it sits in the hinge. Nylon rollers need no lubrication - the nylon is self-lubricating. Steel rollers with ball bearings get one second of spray at the bearing race. Spin the roller by hand; it should freewheel for two full rotations. Less means the bearing is binding.
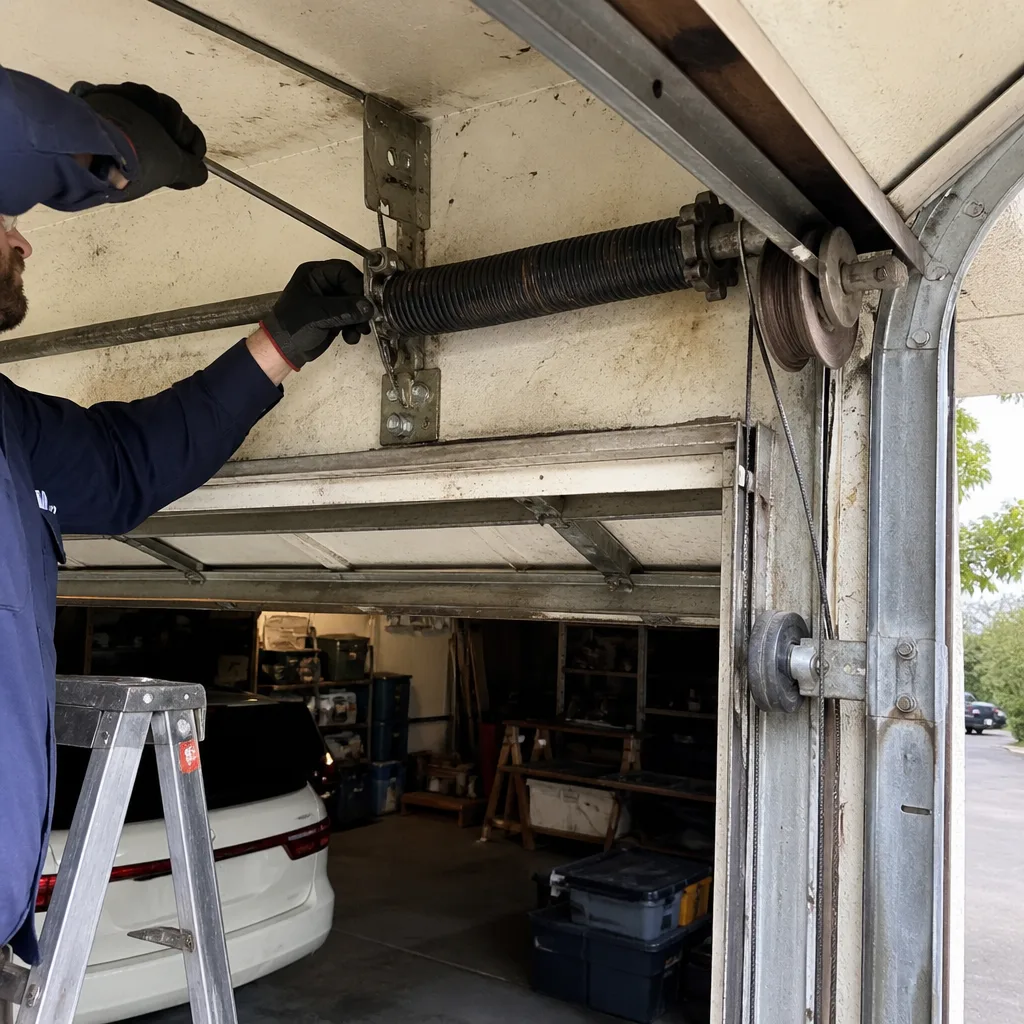
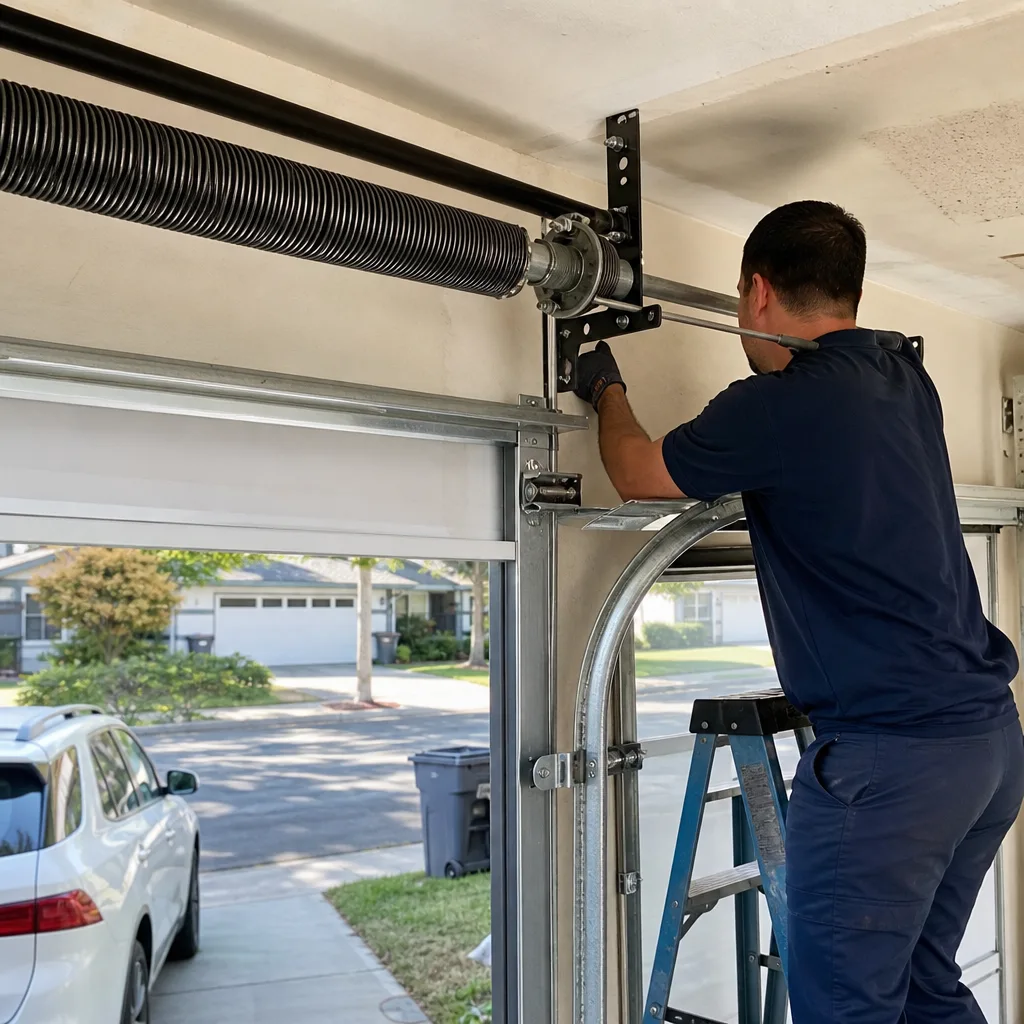
- Torsion spring: White lithium grease only, applied as a thin film across the coil faces. This reduces friction between active coils as the spring winds and unwinds. The critical observation: before lubricating, inspect for coil separation gaps that indicate a stress fracture. A cracked spring sounds like a sharp metallic ping when the door reaches mid-travel. Lubricating a cracked spring silences the warning.
Never lubricate these four points:
- Tracks: Lubricant in the track collects dust and hardens into a paste that accelerates roller wear. The door should roll on clean, dry steel. If rollers bind in dry tracks, the problem is track alignment or roller condition, not lack of lubrication.
- Bottom seal: Silicone spray on rubber or vinyl seal material causes swelling and premature degradation. The seal should remain dry and flexible. If it’s sticking to the floor, the problem is floor leveling or seal hardness, not friction.
- Logic board contacts or limit switch terminals: Any conductive lubricant creates phantom circuit paths. The limit switch, which tells the opener when the door is fully open or closed, relies on clean dry contacts. A switch that behaves erratically after “maintenance” usually has contaminated contacts.
- The opener chain or belt: Modern LiftMaster and Chamberlain openers use self-lubricating belts or sealed chains. Adding lubricant attracts debris and voids manufacturer warranty terms. The only exception: very old chain-drive openers with exposed chains, which need specific chain lubricant, not general-purpose spray.
In Pleasanton’s Birdland neighborhood, we’ve replaced three openers in the past two years where homeowners had sprayed the logic board area with general lubricant to “stop a squeak” - the squeak was actually a failing trolley carriage, and the lubricant destroyed the board. Name the part, then treat it correctly.
Force-Setting Test Procedure: The DASMA Reversal Test Most Homeowners Skip
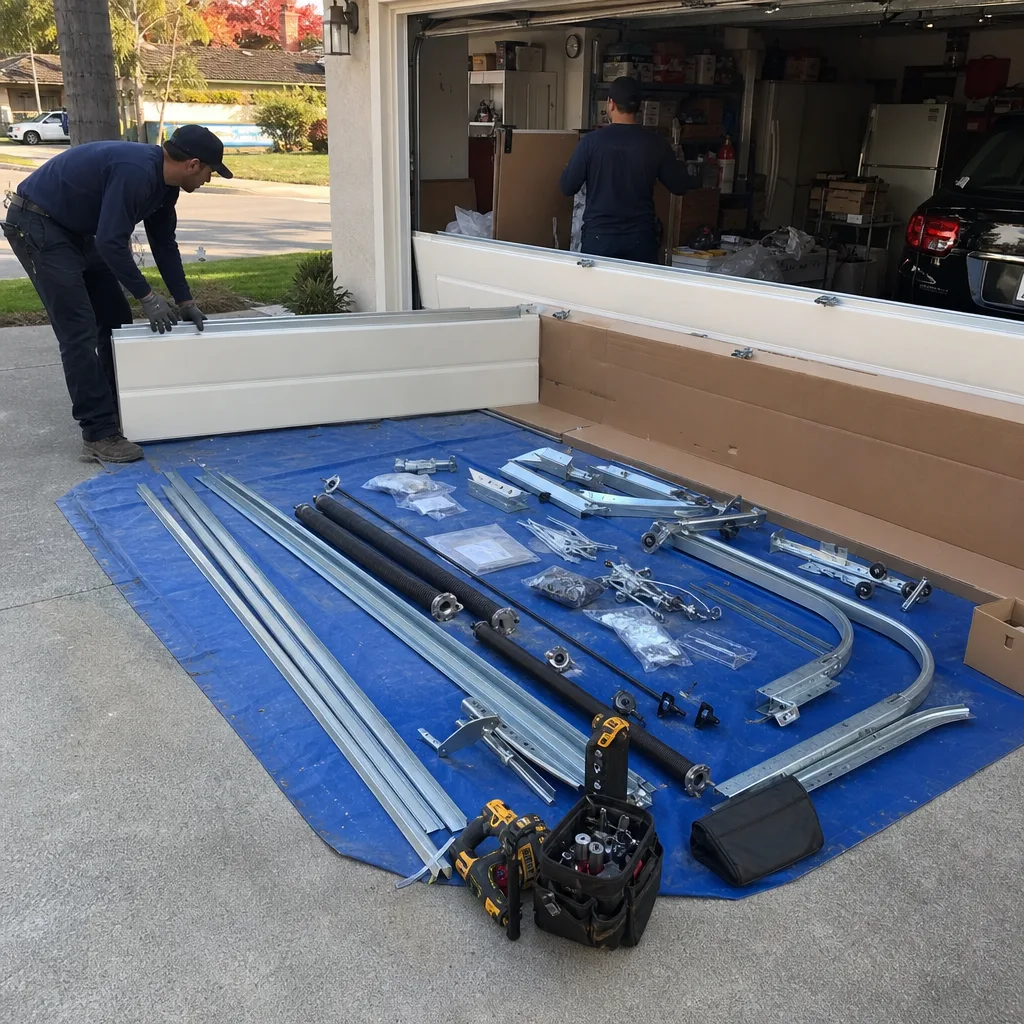
The Door and Access Systems Manufacturers Association (DASMA) specifies a force-setting test that most Pleasanton homeowners have never performed. This isn’t optional maintenance - it’s a liability issue. An opener with excessive closing force can crush an obstruction without reversing, and Garage Door Permits, Codes & Inspections in CA: What You Need to Know confirms that California property liability law doesn’t excuse homeowners from known safety device neglect.
Required tools: A 2×4 board cut to 1.5 inches height (standard lumber dimension, the test specification), a stopwatch or phone timer, and the opener’s force adjustment access.
- Disconnect the opener and test door balance first. The force test is invalid on an unbalanced door. With the opener disconnected, the door should stay at any position between fully open and knee height. If it doesn’t, schedule spring adjustment before proceeding - an unbalanced door will fail the force test regardless of opener settings.
- Place the 2×4 flat on the floor, centered under the door path.
- Close the door using the wall button, not the remote. The remote can be outside operator view, which violates the test protocol.
- Observe reversal behavior. The door must reverse within two seconds of contacting the board and return to fully open. Any of these results is a fail: the door stops on the board without reversing; the door reverses but takes longer than two seconds; the door crushes or deforms the board.
- Check the photo-eye test separately. Start the door closing, then pass a leg or broom handle through the beam. The door must reverse immediately. No delay is acceptable.
- Document the test date and result. A passed test with dated documentation supports your diligence if liability ever arises. A failed test requires immediate professional adjustment - the force settings on the opener logic board are not user-adjustable on most modern units without recalibration tools.
The force test should be performed biannually in Pleasanton: once before summer, when heat expansion can change door weight distribution, and once before winter, when seal drag increases closing resistance. We perform this test on every garage door opener repair and installation in Pleasanton and provide the dated result in writing.
What a failed result means for liability: California courts have found homeowners negligent for known safety device failures that cause injury. The force test takes four minutes. The documentation takes two more. This is the definition of low-effort, high-value maintenance.
How to Photograph and Document Each Inspection
A maintenance checklist without documentation is just a memory exercise. For Pleasanton homeowners who want contractor quotes based on actual condition rather than age estimates, the photograph is the inspection.
The documentation standard we use, adapted for homeowner practice:
- Wide shot of the full door system. Stand in the garage center, frame the door, tracks, and opener. This establishes context and shows door condition, paint or finish state, and any obvious racking.
- Close-up of the torsion spring, with a date reference. Include a piece of paper with the date in the frame. Capture the full coil length. What you’re looking for: gaps between coils when the door is closed (the spring is unwound and coils should touch), rust streaks, or paint bubbling that indicates underlying corrosion.
- Cable condition at the bottom bracket and drum. Two shots: one where the cable wraps onto the drum, one at the bottom bracket where fraying typically starts. Run a white paper towel along the cable - any fiber catch indicates broken strands.
- Roller condition, one representative roller. You don’t need all ten. One clear shot shows whether you have nylon (white or black, no lubrication needed) or steel (metal wheel, requires bearing lubrication).
- Track bracket fastener torque evidence. This is harder to photograph, but a shot of the bracket with a torque wrench in frame, showing the setting, proves the check was performed. If you don’t own a torque wrench, photograph the bracket and note in your log that fasteners were hand-checked for tightness.
- Opener force test result. The 2×4 in position, or your written log entry with date and pass/fail.
- Weather seal contact pattern. Close the door on a strip of paper, photograph the drag mark or the paper itself showing where contact was firm, light, or absent.
Store these with dated filenames: 2025-01-15_Pleasanton_Garage_Inspection. When you call for service, email the most recent set. A technician who can review actual condition photos before arriving brings correct parts and quotes accurately. This is the principle behind Clause 4 of The Haven Standard - the customer sees the evidence before anyone quotes a replacement.
For garage door parts in Pleasanton, documented wear patterns also help distinguish parts that need immediate replacement from those with remaining service life. A cable with three broken strands in a 19-strand wire rope still has 84% structural integrity - but without documentation, most contractors will recommend replacement based on age alone.
Monthly, Quarterly, and Annual Maintenance Schedule
This schedule integrates the inspections above into a sustainable routine. Pleasanton’s climate specifics are noted where they affect timing.
Monthly (15 minutes, first Saturday):
- Visual sweep: rust on spring, cable fraying, loose hardware, seal damage
- Balance check: disconnect opener, verify door stays at mid-height
- Noise log: note any new sounds, their location in the travel cycle, and whether they repeat every cycle or intermittently
- Photo-eye test: interrupt beam during closing, verify reversal
Quarterly (30 minutes, at month-start of March, June, September, December):
- All monthly items
- Hinge and roller lubrication (silicone spray, sparingly)
- Torsion spring inspection and lubrication if no cracks observed
- Track bracket fastener torque check
- Weather seal flexibility test
- Opener force test (DASMA 2×4 protocol)
The September quarterly is critical in Pleasanton - it precedes the thermal shock period when summer-heated metal first encounters rain. The March quarterly follows the condensation season and catches any corrosion that started over winter.
Annual (professional service, schedule in April or May):
- Full door balance and spring torque measurement with calibrated tools
- Track alignment check with laser or string-line verification
- Opener travel limit and force setting calibration
- Cable tension equalization
- Weather seal replacement if hardness test failed
- Photo-eye sensitivity adjustment for current sun angles
- Logic board diagnostic scan on smart openers (LiftMaster MyQ, Chamberlain equivalent)
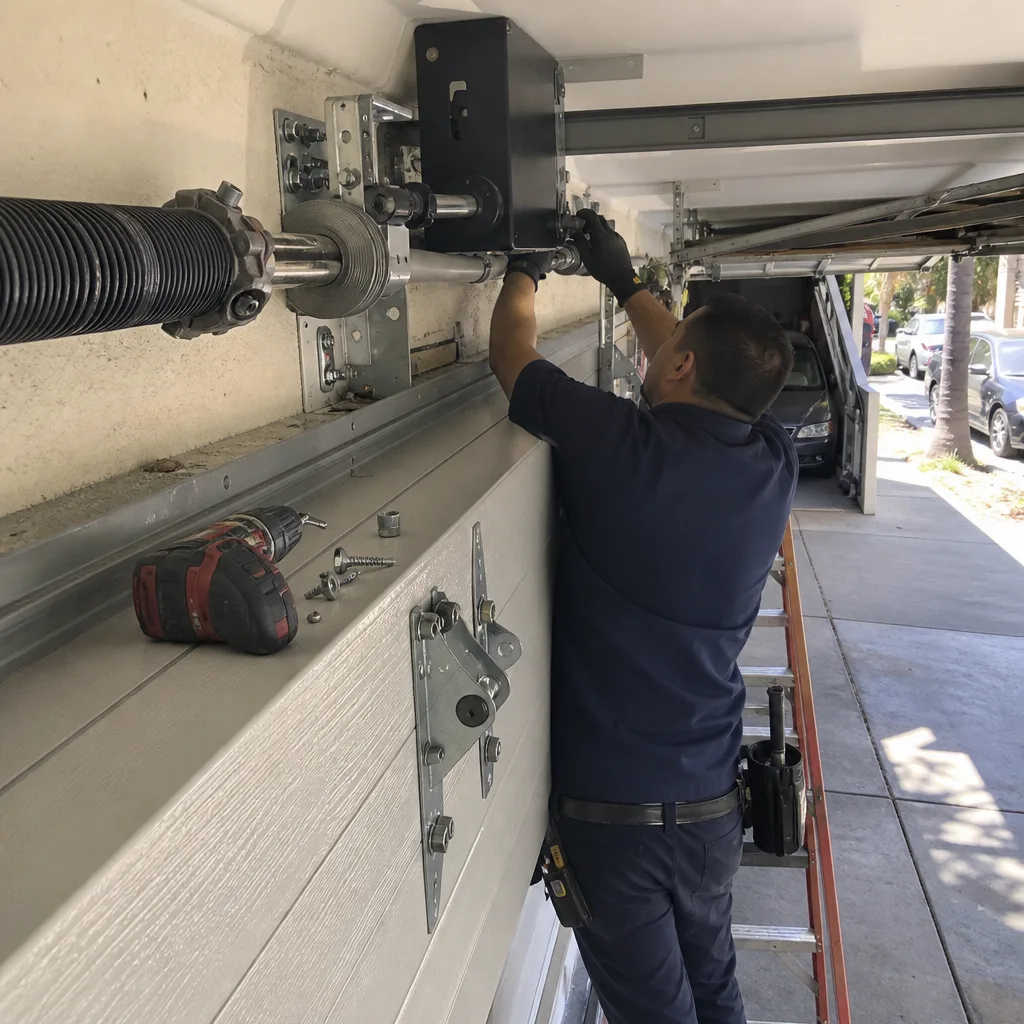
The annual professional visit isn’t a replacement for homeowner maintenance - it’s the calibration layer that requires tools most homeowners don’t own. Spring torque measurement, for example, requires a winding bar set and knowledge of IPPT (inch-pounds per turn) calculations that vary by door weight and drum geometry. This is not DIY territory; the stored energy in a wound torsion spring can cause serious injury.
At Servo Garage Doors Pleasanton home, we provide a written report after annual service that includes measured values, not just “checked and okay.” The spring torque in IPPT, the track deviation in inches, the force test result in seconds - these become your baseline for next year’s comparison.
Common Mistakes to Avoid
- Lubricating the track. We’ve addressed this above, but it bears repeating because it’s the most common error. In Pleasanton’s dust-prone summer, track lubricant becomes abrasive paste within two weeks. If rollers bind, replace worn rollers or realign tracks - don’t lubricate the problem away.
- Ignoring the 30-day post-installation window. New doors settle. Fasteners loosen. Springs relax slightly. The homeowners who catch these early have warranty claims, not repair bills. The ones who wait six months often find their installation warranty has expired for adjustment coverage.
- Testing force settings with a hand or foot instead of the specified 2×4. This is dangerous and produces invalid results. The DASMA specification exists because human limbs don’t replicate the compression characteristics of a rigid obstruction. Use the board.
- Photographing without dating or context. A photo of a spring crack from “sometime last year” is useless for warranty or insurance purposes. Every image needs a date and a wide shot for location reference.
- Assuming silence means health. A door that operates quietly may have a cracked spring that’s simply not making noise yet, or worn rollers that haven’t begun to bind. The visual inspection matters as much as the auditory one.
- Skipping maintenance on a “new” door. Even a 2024 Amarr or Wayne Dalton installation needs the 30-day check and quarterly lubrication. Warranty terms from manufacturers require evidence of maintenance for defect claims. No documentation, no coverage.
- Using WD-40 as a lubricant. WD-40 is a water displacer and light solvent, not a lubricant. It evaporates within days and leaves a residue that attracts dust. Use silicone-based spray for hinges and rollers, white lithium grease for springs. These are specified for a reason.
When to Call a Professional
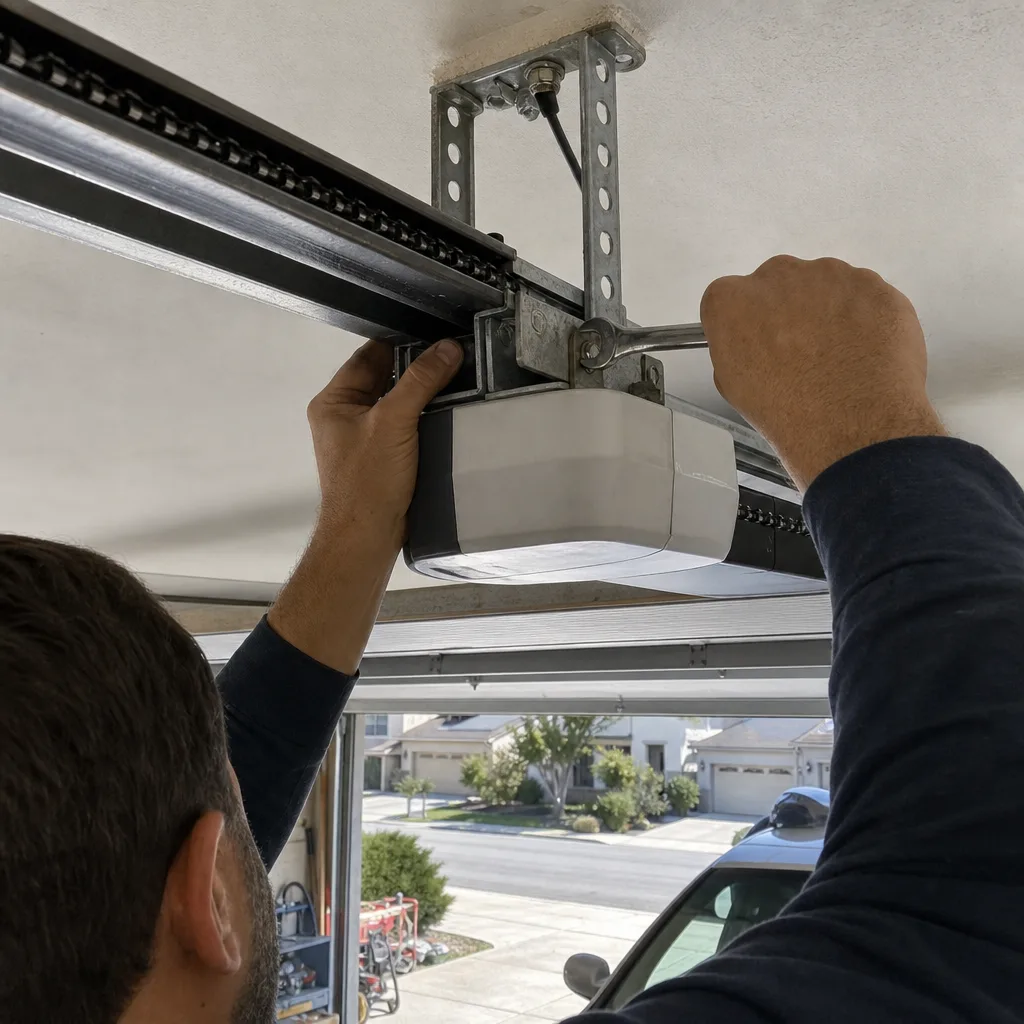
Some maintenance boundaries are absolute. Torsion spring adjustment, cable replacement, and bottom bracket service involve components under lethal tension. The stored energy in a standard residential torsion spring can cause serious injury or death if released improperly. We don’t provide step-by-step instructions for these operations because no homeowner should perform them.
Call a professional when: the door fails the balance test consistently; you observe a crack or gap in the torsion spring; cables show more than five broken strands; the door racks visibly during travel; the opener force test fails after adjustment attempt; or you smell burning from the opener motor. These are not maintenance items - they’re repair indicators.
Servo Garage Doors Pleasanton offers free estimates in Pleasanton - call (510) 398-4466. Our technicians arrive with a documented photo record process, a flat written price before any work starts per Clause 1 of The Haven Standard, and the 365-Day Done Right Promise. Every visit includes evidence of what was found and what was done, not a verbal summary.
Frequently Asked Questions
Professional annual maintenance for a standard residential door in Pleasanton typically runs $149-$249, depending on door size and opener type. This includes balance testing, spring torque verification, track alignment check, force-setting calibration, and a written condition report with photographs. Servo Garage Doors Pleasanton provides this service with upfront pricing quoted before arrival - call (510) 398-4466 for a flat rate specific to your door configuration.
Homeowners can safely perform monthly visual inspections, quarterly lubrication of hinges and rollers, and the DASMA force-setting test. Torsion spring adjustment, cable replacement, and bottom bracket service require professional handling due to lethal stored energy in the spring system. We’ve documented the safe homeowner procedures in this guide; for everything else, the risk of serious injury exceeds any cost savings.
Hinges and steel roller bearings need silicone-based lubricant quarterly - March, June, September, December. The torsion spring gets white lithium grease at the same interval, but only after visual inspection confirms no cracks. Pleasanton’s summer dust and winter condensation make this quarterly schedule more important than the biannual recommendation you’ll see in generic guides written for milder climates.
A cracked torsion spring produces a sharp metallic ping or pop when the door reaches mid-travel, where spring torque is highest. This sound is distinct from the slower creak of a dry spring or the rattle of loose hardware. If you hear this ping, stop using the door immediately - the spring is in progressive failure and could release completely on the next cycle. Call for professional replacement.
No. Servo Garage Doors Pleasanton quotes a flat, written price and written scope before any work starts - Clause 1 of The Haven Standard. The price we quote is the price you pay. If we find additional issues during service, we document them with photographs, explain what they mean, and quote separately. You approve or decline before any additional work begins. This is how we’ve operated since 2015.
Yes. Our Pleasanton-area trucks stock torsion springs in common wire sizes and lengths for doors up to 18 feet wide, cables for standard and high-lift configurations, rollers in nylon and steel, hinges in numbered sizes #1 through #4, and logic boards for LiftMaster, Chamberlain, Genie, and Craftsman openers. For garage door parts in Pleasanton that require ordering, we provide the part number and expected delivery date in writing.
A properly installed steel door with standard use should deliver 20-30 years of service life, with one to two spring replacements in that period. The spring is a wear item - it’s designed to cycle, not to last the door’s full lifespan. In Pleasanton, south-facing doors and those in unventilated garages see accelerated weather seal and roller degradation from heat. Documented maintenance extends component life and catches failures before they cascade into opener damage or track misalignment.
The Bottom Line
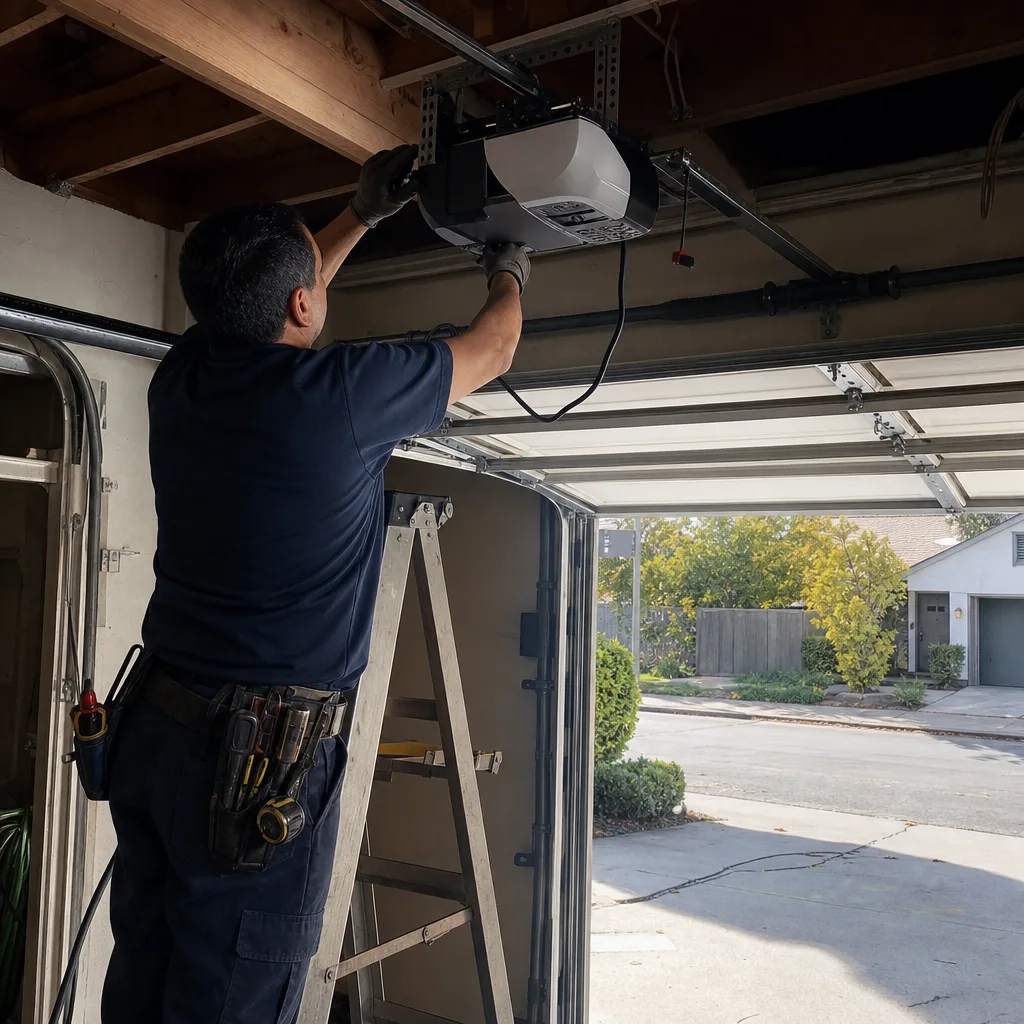
A garage door installation maintenance checklist only protects your investment if it produces observable, documented evidence - not just tasks completed. In Pleasanton, where summer heat expansion and winter condensation create distinct seasonal stress patterns, the homeowner who knows what a dry spring sounds like versus a cracked one, who tests opener force settings biannually, and who maintains dated photographs of system condition, will always get more accurate quotes and longer component life than the homeowner who follows generic “lubricate everything” advice. The three lubrication points that matter, the four that cause damage, the DASMA force test, and the photo documentation standard - these convert vague maintenance into pass/fail inspections with consequences you can see and prove. That’s the difference between maintaining a door and maintaining evidence. Explore our more guides & resources for additional homeowner maintenance strategies.
Written by Marcus Deller, Owner at Servo Garage Doors Pleasanton, serving Pleasanton since 2015.